Glitter Paper Christmas Tree
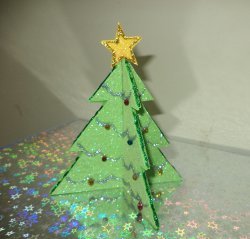
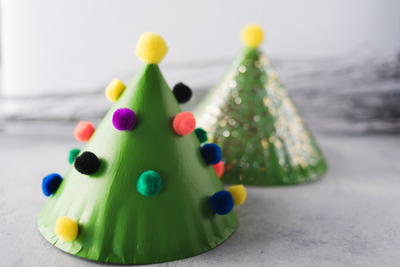
Not all Christmas tree crafts are complicated and take a long time. A Glitter Paper Christmas Tree will literally take you minutes, but it still really pops. It's a 3D paper craft that comes to life with glitter ornaments and your choice of embellishments. You can make your own and encourage your little ones to each try making their own homemade Christmas decoration. They're easy to set up, and just as easy to store, so you can put them out year after year without a mess.

Materials:

- Green Paper
- Yellow Paper
- Ruler
- Glue
- Glitter Glue
- Scissors
Instructions:
-
You are going to start off by cutting out a tree template and making 4 trees on your green piece of paper. You can also draw the trees free hand if you like.

-
Once you are done cutting out the trees, you are going to glue them together to get 2 trees out of the 4 cut outs. Then you are going to measure the tree from tip to base and divide the measurement by two. Then draw two lines on each tree to meet at the centre. So one tree will have a line from base to centre and one from tip to centre. The cut along both lines. If your paper is thick, you might want to cut a slightly wider line so that the trees can easily assemble.

-
Then you are going to measure the tree from tip to base and divide the measurement by two. Then draw two lines on each tree to meet at the centre. So one tree will have a line from base to centre and one from tip to centre. The cut along both lines. If your paper is thick, you might want to cut a slightly wider line so that the trees can easily assemble.


-
You are then going to assemle your tree together like a puzzle by interlocking the two cuts together.

-
You can leave your tree bare or decorate it. I deassembled it and made a silver garland using glitter glue and then added some glitter glue dots to make tree ornaments.

Your finished tree!

How to Make a Glitter Paper Christmas Tree:
Read NextCountryside Christmas Tree

